These days I rarely get a chance to play around with something purely to see what happens. Once I had the opportunity to try something out without consequence if it didn’t work out, I jumped at the chance.
Last week we had a product team hack day at Vidsy. Weirdly this wasn’t the opportunity to “play around” that I was lacking, but it did require some post-hack entertainment for a dozen burned out engineers and project managers. Faced with a lack of time and budget, we planned out a quiz for everyone to play.
We were short on round ideas, but I figured at least one of them would require being the fastest at something. Being a nerd after a hack day, I looked for a technical solution that wouldn’t cost anything. It’s then I remembered the Echo Button.
What are Echo Buttons?
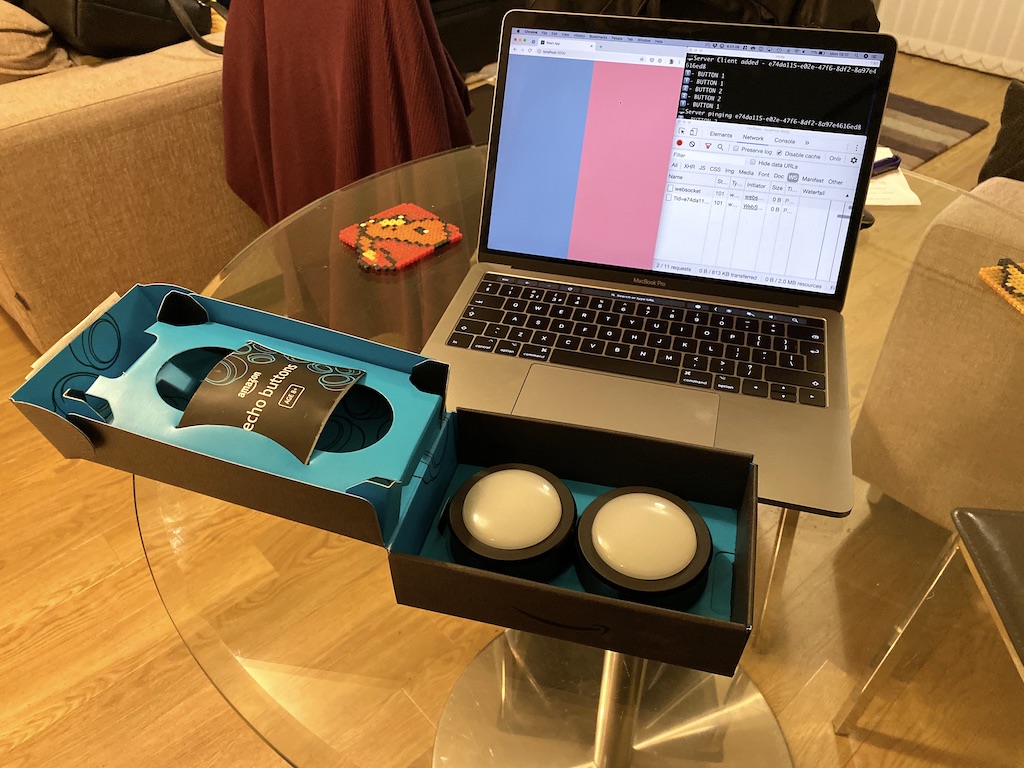
Amazon’s Echo Buttons are a couple of plastic buzzers that you connect to an Echo device. They pair with Alexa and control “over 75 compatible Alexa skills”.
In reality, it controls maybe 3 games you would want to play. They connect over Bluetooth to the Echo device but then it needs to communicate to the service over the Internet. The end result is a game that’s on the buzzer that comes down to whichever request completes first. Great.
That relegated them to the bedside drawer for a couple of years. That is until a brainwave that happened last week.
Listening in
I figured these things are just Bluetooth devices and that I could just connect them to my laptop and it would work like a keyboard or something. If I could get when a button was pressed, the rest I could just fall in to place.
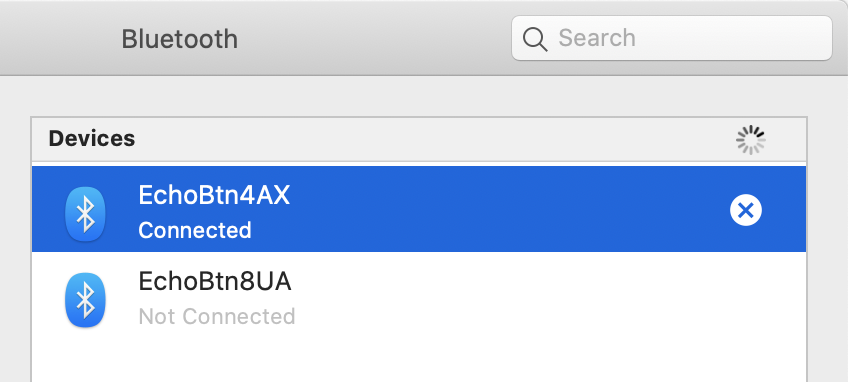
After looking into the buttons, I came across Sam Decrock’s teardown that did confirm they’re regular old Bluetooth devices. Pairing them with my laptop was as simple as holding the button down until it changed colour.
What now? I’m no hardware whizz kid - I’m a web guy. Thankfully I can do a bit of Node, which came in handy.
Following the advice of the teardown article, I made use of the bluetooth-serial-port package on npm. Through some magic I don’t particularly understand, it lets me listen in on the Bluetooth devices connected to my machine.
To make things separated, I created a class for each button. It needs an address (that can be found through Bluetooth settings in MacOS) and a human-readable name to identify it in the logs. It contains a connect method, which creates the link to the button.
async connect() {
  return new Promise((resolve, reject) => {
    this.connection = new BluetoothSerialPort();

    this.connection.findSerialPortChannel(this.address, channel => {
      this.connection.connect(this.address, channel, () => {
        this.log("connected");
        resolve();
      });
    });
  });
}
First we need to look for the channel the button is on. For this, we need the address and a serial port object to work with. This can find the channel and connect to it.
Communication happens through events on the connection object. By listening for data events, we can see exactly what happens when a button is pressed.
this.connection.on("data", buffer => {
  if (buffer.length !== 40) {
    // Not a button event (e.g. initialisation)
    return;
  }

  const isPressed = buffer[BUTTON_STATE_POSITION] === 0x02;

  this.emit(isPressed ? EVENTS.DOWN : EVENTS.UP);
});
When connected, the button can send a few initialisation events. It’s not clear exactly what these are for, but they can be ignored for our use.
What we are interested in is the buffer data when the button is pressed. This is always a 40 byte buffer with some interesting information within it. For example, theres a counter of how many times a button has been pressed along with some potential rate-limiting data in there, but what we need is the button state - the down and the up.
This data lives in position 29. It’s 0x02 for down and 0x03 for up. Result.
Once that happens, we can emit our own event from the button class. As the consumer of this service only cares about who buzzed first, we only want to send the first buzz from either team out. As long as there was a way for the consumer to reset this state, we can limit what goes out at this point.
But where should that event go? Again, because I’m a web guy, it comes down to Web Sockets.
Building a front end
Web sockets are great. They help connect browsers up to events in real time without needing to constantly poll for information. In fact, they’re so great, I wrote a tutorial on them to show what they can do.
That came in very handy when it came to writing the front end here. I reused a lot of the connection and initialisation logic to connect a small React application to the socket.
On the Node side, it was sending out events using the ws package. To listen to these events we needed a WebSocket connection linked to that port. We initialise this inside a React component, which passes in a callback to our own WebSocketConnection class. When the socket sends a message, it runs a method inside that component.
onMessage(data) {
  if (data.event === EVENTS.BUZZ) {
    this.setState({ buzzed: data.payload.button });
  } else if (data.event === EVENTS.QUESTION_RESETTED) {
    this.setState({ buzzed: undefined });
  }
}
Each event is set up similar to a Redux action. Each has an event type and a payload of extra data that may be useful. Inside the component, we check to see which event is was and update the state accordingly. If it was a buzz, indicate which team buzzed first. If we are resetting that state, clear that data out.
From here the front end is real small. Depending on whether the buzzed state is 1, 2 or undefined, we can style the page differently. Right now it’s a single, full-page <div> using flexbox. The blue and red children are set to flex:1 or flex:0 depending on the state of the buzzer. Throwing in some small CSS transitions to smooth it out and everything is happy.
For what I needed everything works great. The front end can reset the buzzer state by pressing any key and the whole loop begins again. It doesn’t need to know about the score or the questions as that’s the host’s job. It’s there purely to display who buzzed first.
Find out more
While we didn’t end up using the buzzers in the end, I didn’t want this little project to go to waste. I’ve put both the server and client code up on GitHub under the name “On The Buzzer”.
If - by some miracle - you have your own Echo Buttons already, all that needs to change is the address in the server code and you’re good to go!